


The propagation of Lilies

As I promised in a previous newsletter I would tell you every now and then how the different types of flower bulbs are propagated by the flower bulb growers. Since the Lilies are in the spotlight at the moment it is obvious that I tell you something about that now.

Lilium Josephine
The Lily can be propagated in various ways.

Lily seeds
With the species Lilies it is possible to win seed which then has to be cultivated for a few years to obtain a large bulb again. But this actually only works well with the species Lilies that occur in the wild, these come back true to type from seed. The 'modern' cultivated Lilies often do not produce seed and if they do, you will not get the same Lilies back from the seed when they bloom again.

Lily double nose
Another method of propagation is to split the bulbs. Some lilies have the property of producing a double nose after one or more years of growth. These so-called double noses, or sometimes even triple noses, can be carefully separated. This is a property that does not occur with all lilies. But if you have a species with this property, it is a welcome and easy way of propagating.

Lily with axillary bulbs or stem bulbs
What also sometimes happens is that a Lily makes small bulbs in the axils of the leaves. This mainly occurs with Lilies that have the species Lilium lancifolium as one of their ancestors. But other Lilies also show these axillary bulbs sometimes. But these bulbs occur with almost all Lilies as underground stem bulbs.

Axillary bulb of a tulip
It is nice to know that you can sometimes also find an axillary bulb in a Tulip . But in all honesty I have to say that it is easier to find a four-leaf clover than an axillary bulb in a Tulip. But we continue with the Lily.

Between the stem roots that the Lily makes on the piece of stem that is under the ground you can almost always find a few small young Lily bulbs. These bulbs are not visible in the photo but if you open the wig with roots above the bulb you can find them. You can propagate these small stem bulbs into large Lilies. This is still a fairly common method of propagation among Lily growers.

A lily bulb with its scales broken off
But the most common method of propagation is the so-called scaling of lilies . Lily growers have a selection batch of all the species they grow that is extra well checked for mixing with other species, viruses and other deviations. Every year they take the largest bulbs of these selection batches and these bulbs are, as you can see in the photo above, completely peeled apart. One by one all the scales of the lilies are picked loose .
These scales are then wrapped in plastic with peat moss and stored for 12 weeks at 20 degrees Celsius.

Lily scale with youngsters
After twelve weeks in the warmth, there are young bulbs everywhere on the scales. It depends on the species how many young bulbs grow on a scale, but on average about 2 bulbs emerge per scale. From a large Lily bulb, about 25 scales come , so a Lily grower can make about 50 new bulbs from each bulb.

After the 12 weeks of warmth, the Lily grower places the scales in the cold store for a few months to then plant them in the spring, around the end of April, beginning of May. After having grown the scales for 1 year, the grower only harvests planting material in the fall. This planting material is planted again the following spring and from this grow the beautiful deliverable bulbs that you can find in our Fluwel web shop .
Almost all Lily bulbs that you buy from us are propagated in this way from the scales. You can also try it yourself, it is really easy. If you pick a few scales from a Lily bulb in the fall and you keep the scales in the potting soil at room temperature, you will see that young bulbs appear on the scales.
(If you only remove a few scales from a bulb, the bulb will hardly be affected and will continue to bloom well.)
Keep the potting soil a bit on the moist side, if it gets too dry the scales will shrivel and then they will not work anymore. After about three months you store the bulbs cool until the end of April or you plant them in a sheltered spot in the garden. But, the first year only a rosette with leaves, no stems and flowers yet.
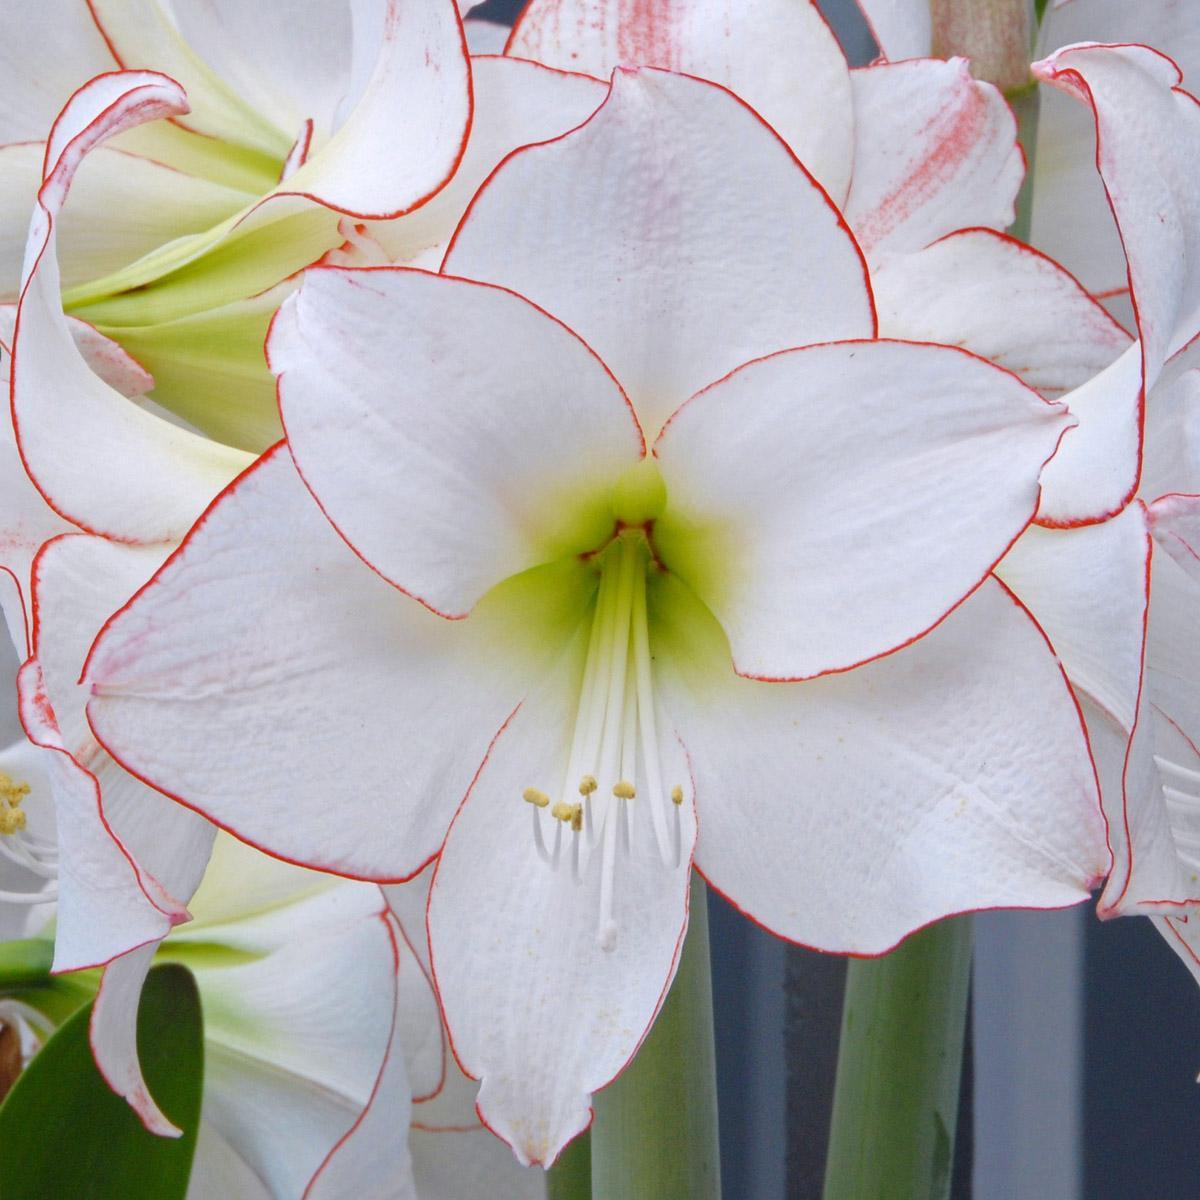
Furthermore, what caught my attention is a 'Pechbol' Amaryllis .

Of all the types of Amaryllis that we offer in the Fluwel webshop, I always plant 2 bulbs to check whether they do what is expected of them; bloom beautifully. In the photo above you see the two bulbs of the Amaryllis Magical Touch that I planted in the back of my greenhouse. (Sorry, the type is sold out) For some inexplicable reason, one is doing beautifully and exactly as I expect from this reliable Amaryllis. The other bulb, however, is fussing and whining and it looks like it is not happy at all. On the one hand, I am glad that this Amaryllis is with me and not on your windowsill or kitchen table, but I am not really happy with such a grumbling bulb in my pot. The reason I am showing this to you is to impress upon you that you should report it to us if you also have such a bulb in your home. It rarely happens, of the almost 200 Amaryllis bulbs that I have planted this is the only one so far, but if you have such a bulb in your home, please let us know and send us a photo so that we can refund the bulb or compensate with a free Dahlia or something like that.

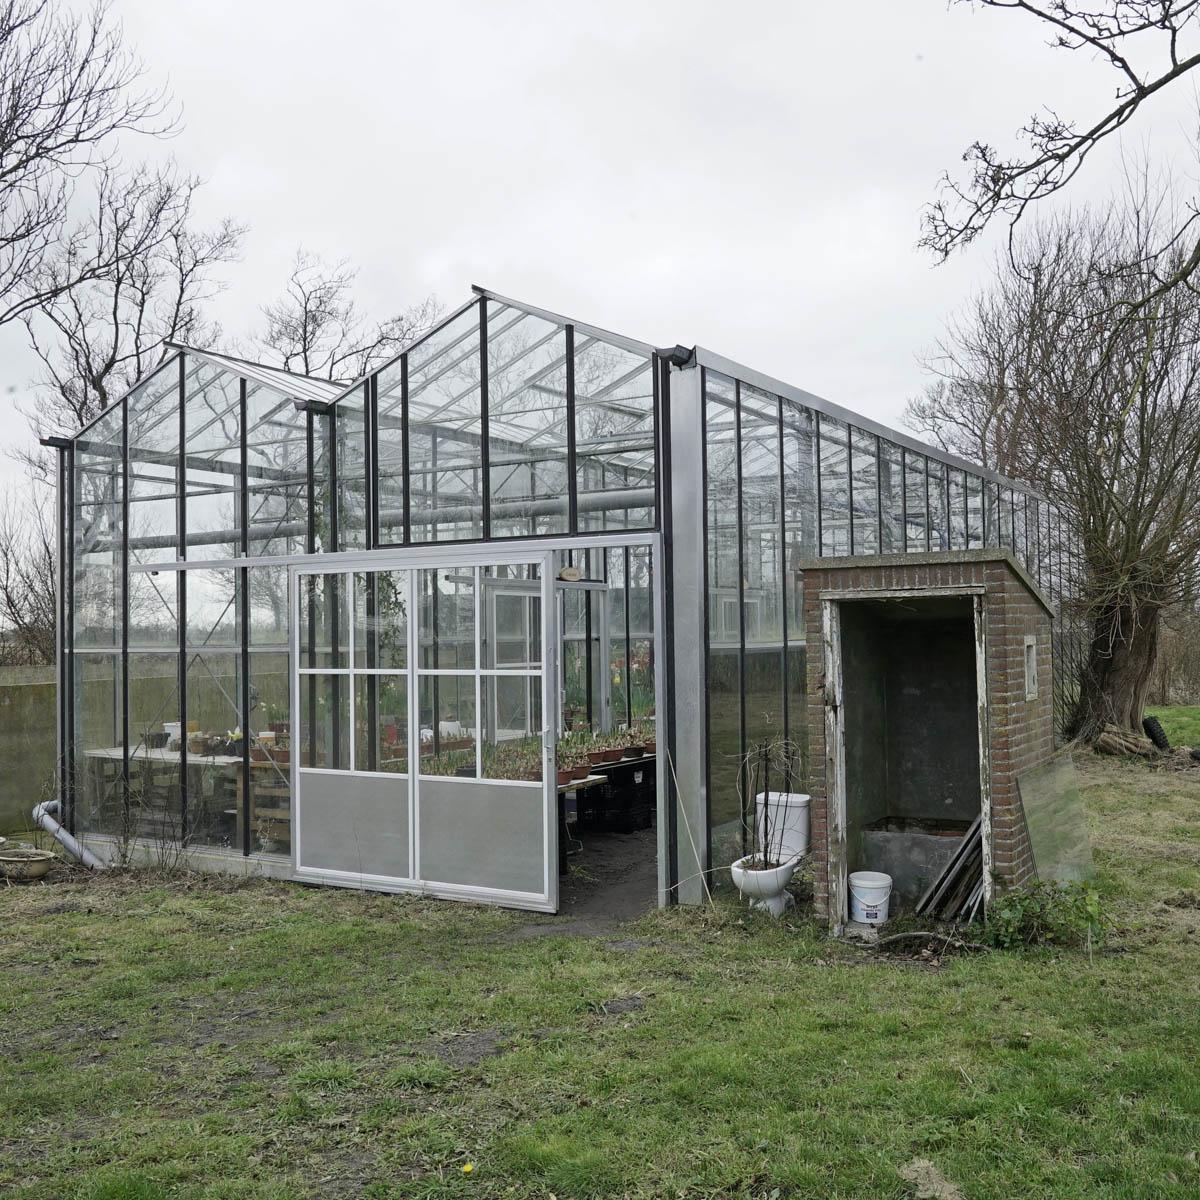
Today the Amaryllis bulbs are behind the house in a new greenhouse. Previously they were always in the living room, which I also enjoyed immensely. But when I once planted the Amaryllis bulbs in peat dust that I had used the year before to pot Tulips, we were plagued by fruit flies. I managed to blame the fruit bowl or something like that for a few weeks, but when the rest of the family also discovered that the Amaryllises were the culprit, they looked at all this beauty with raised eyebrows. It was also far too much, 200 pots of Amaryllises in the house and now in the greenhouse I can enjoy them too.
Next week I will tell you more about the greenhouse, now it is time to stop again.
Kind regards,
Carlos van der Veek